Achieving Perfect Lashes: Your Guide to the My Lamination Lash Lift Kit
- AmazoniaSilva
- Tháng 1 13, 2025
- Zodiac signs
- 0 Comments
My Lamination Lash Lift Kit is your ticket to achieving luscious, lifted lashes from the comfort of your own home. This comprehensive guide will explore everything you need to know about using a lash lift kit, from preparation and application to aftercare and troubleshooting. Get ready to ditch the mascara and embrace naturally beautiful, curled lashes.
Understanding Lash Lifts and the My Lamination Lash Lift Kit
A lash lift is a semi-permanent treatment that curls your natural lashes from the root, creating a more open and awake eye appearance. Unlike traditional lash perms, lash lifts use gentler chemicals and silicone pads to create a natural-looking curl that lasts for weeks. The my lamination lash lift kit offers a convenient and affordable way to achieve this salon-worthy look at home.
What’s in the My Lamination Lash Lift Kit?
Typically, a my lamination lash lift kit includes everything you need for the treatment: lifting lotions, setting lotions, nourishing oils, silicone pads in various sizes, adhesive, and application tools. Some kits may also include bonus items like lash tint or sealant. Knowing the components and their functions is crucial for a successful lift.
Preparing for Your Lash Lift
Before you begin, ensure you have a clean, clutter-free workspace. Remove any eye makeup and thoroughly cleanse your lashes. Performing a patch test 24 hours before the treatment is highly recommended to check for any allergic reactions.
Step-by-Step Guide to Using Your My Lamination Lash Lift Kit
Following the instructions provided with your specific my lamination lash lift kit is essential. Here’s a general overview of the process:
- Cleanse and Prep: Thoroughly clean your lashes and eyelids to remove any makeup, oil, or debris.
- Choose Your Shield: Select the appropriate silicone shield size based on your lash length.
- Apply Adhesive and Attach the Shield: Apply a thin layer of adhesive to the shield and carefully adhere it to your eyelid, close to the lash line.
- Lift and Adhere Lashes: Using the provided tool, carefully lift and adhere your lashes to the silicone shield. Ensure each lash is neatly separated and secured.
- Apply Lifting Lotion: Apply a thin layer of lifting lotion to the base of your lashes, covering the section adhered to the shield.
- Processing Time: Allow the lifting lotion to process for the recommended time specified in your kit’s instructions.
- Apply Setting Lotion: After removing the lifting lotion, apply a thin layer of setting lotion to the lashes.
- Remove the Shield: Carefully peel off the silicone shield.
- Nourish and Condition: Apply a nourishing oil or serum to hydrate and condition your newly lifted lashes.
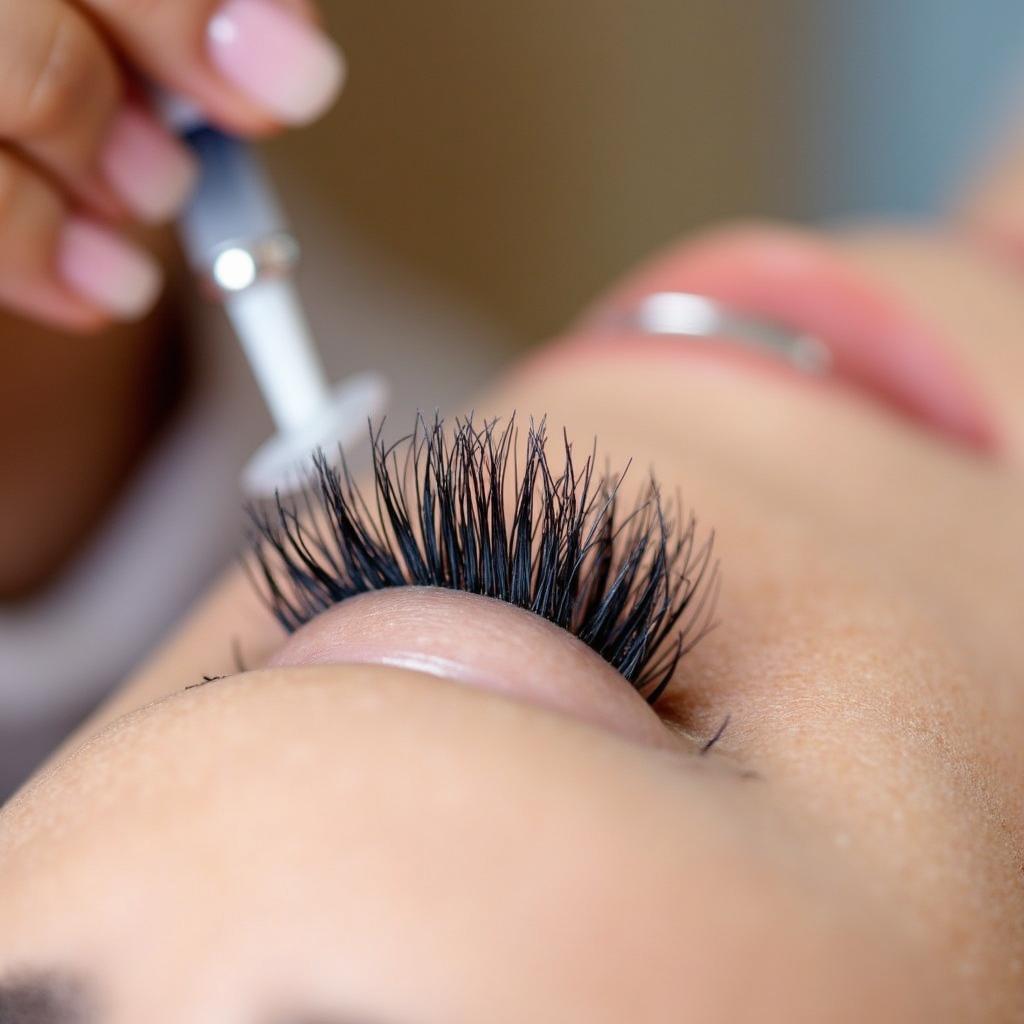
Applying Lash Lift Solution
Aftercare Tips for Long-Lasting Results
Proper aftercare is crucial for maintaining your lash lift. Avoid getting your lashes wet for 24 hours after the treatment. Refrain from rubbing your eyes and using oil-based makeup removers. Regularly apply a lash conditioner to keep your lashes hydrated and healthy.
Troubleshooting Common Lash Lift Issues
- Lashes Not Lifting Enough: This could be due to incorrect application or using the wrong shield size. Ensure lashes are properly adhered to the shield and follow the instructions carefully.
- Over-Processed Lashes: Leaving the lifting lotion on for too long can lead to over-curled or damaged lashes. Always adhere to the recommended processing time.
“A well-executed lash lift can dramatically enhance the eyes without the need for extensions or daily curling. It’s a fantastic option for those seeking a low-maintenance yet impactful beauty boost.” – Amelia Reed, Certified Lash Technician
Conclusion
The my lamination lash lift kit provides an accessible and effective way to achieve beautifully lifted lashes. By carefully following the instructions and adhering to proper aftercare, you can enjoy weeks of stunning, natural-looking curls. So, ditch the curler and embrace the effortless beauty of a lash lift.
FAQ
- How long does a lash lift last? Typically, a lash lift lasts 6-8 weeks.
- Is a lash lift safe? When performed correctly with a quality kit, lash lifts are generally safe. Always perform a patch test.
- Can I wear mascara after a lash lift? Yes, but avoid waterproof mascara for the first 24 hours.
- How often can I get a lash lift? It’s recommended to wait at least 6-8 weeks between treatments.
- What if I have sensitive eyes? Choose a kit specifically designed for sensitive eyes or consult a professional.
- Can I get a lash lift if I have lash extensions? No, remove lash extensions before getting a lash lift.
- How do I remove a lash lift? It’s best to let a lash lift grow out naturally. Consult a professional if you wish to remove it sooner.
“Investing in a quality lash lift kit and taking the time to learn the proper techniques can save you money and time in the long run, while giving you the confidence of professionally styled lashes.” – Sarah Chen, Beauty Blogger
For any assistance, please contact us at Email: [email protected], or visit our office at Fifth Avenue, 34th Floor, New York, NY 10118, USA. We have a 24/7 customer support team ready to help. Check out our other articles on lash care and other beauty tips on our website!
