Achieving Crystal-Clear Polygel Nails: A Comprehensive Guide
- AmazoniaSilva
- Tháng 12 19, 2024
- Zodiac signs
- 0 Comments
Clear Polygel Nails offer a versatile and durable canvas for any nail art enthusiast. They provide the strength of acrylics with the flexibility of gels, making them a popular choice for achieving stunning, long-lasting manicures. This guide will delve into everything you need to know about clear polygel nails, from application techniques to aftercare tips.
Understanding the Allure of Clear Polygel Nails
Clear polygel offers a blank slate for creativity. Unlike colored gels or acrylics, clear polygel allows you to experiment with various colors, glitters, and embellishments without any base color interference. This makes it ideal for creating unique nail designs that truly reflect your personal style. Furthermore, polygel is known for its lightweight and comfortable feel, unlike the sometimes heavy feeling of traditional acrylics.
Application Techniques for Flawless Clear Polygel Nails
Applying clear polygel nails requires precision and patience, but the results are well worth the effort. Here’s a step-by-step guide:
- Prep Your Nails: Begin by gently filing and buffing your natural nails. Push back your cuticles and remove any excess skin. This creates a smooth surface for the polygel to adhere to.
- Apply a Dehydrator and Primer: These essential steps ensure optimal adhesion and prevent lifting.
- Squeeze Out the Polygel: Dispense a small amount of clear polygel onto a dual form or nail form.
- Spread the Polygel: Use a slip solution and a brush to evenly distribute the polygel across the form, creating the desired nail shape and length.
- Cure the Polygel: Place your nail under a UV/LED lamp for the recommended time to harden the polygel.
- Shape and File: Once cured, remove the form and shape the nail using a file, creating your desired look.
- Apply Your Chosen Design: Now comes the fun part! Apply your desired nail polish, glitter, or nail art to the clear polygel canvas.
- Seal with a Top Coat: Finish with a top coat to protect your design and add shine, ensuring your manicure lasts.
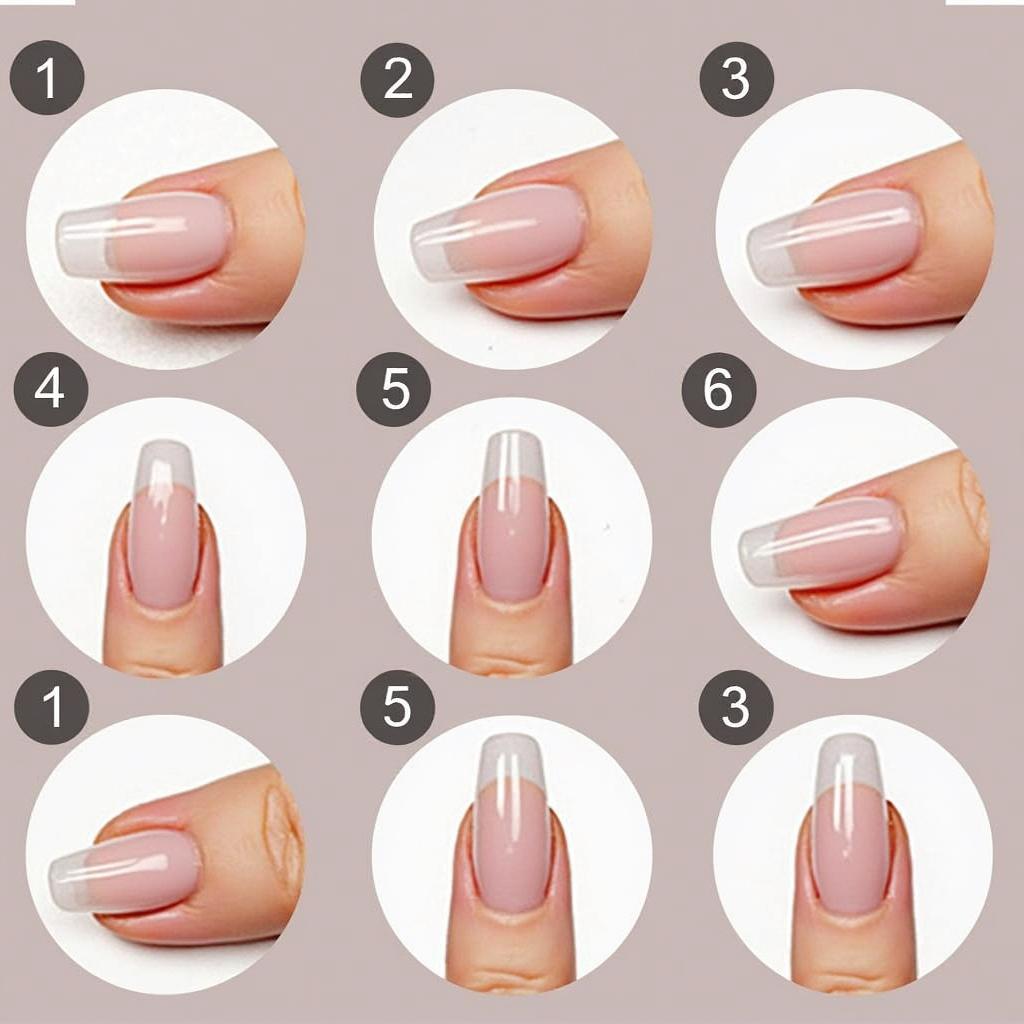
Clear Polygel Application Steps
Maintaining Your Clear Polygel Manicure
Proper aftercare is crucial for extending the life of your clear polygel nails. Avoid harsh chemicals and wear gloves when doing chores. Regular moisturizing of your cuticles and surrounding skin will also help maintain healthy nails.
Troubleshooting Common Clear Polygel Issues
- Lifting: Proper nail prep is key to preventing lifting. Ensure your nails are clean and dry before applying the polygel.
- Bubbles: Bubbles can occur if the polygel is not mixed thoroughly or if it’s applied too thickly.
- Breaking: While polygel is durable, excessive force or improper application can lead to breakage.
Benefits of Choosing Clear Polygel
Clear polygel offers numerous advantages:
- Versatility: Create any design you can imagine.
- Durability: Enjoy long-lasting manicures.
- Lightweight: Experience comfortable wear.
- Odorless: A more pleasant salon experience.
Expert Insights on Clear Polygel
“Clear polygel is a game-changer in the nail industry,” says Sarah Miller, a renowned nail technician. “Its versatility and durability make it a favorite among both professionals and DIY enthusiasts.” Another expert, Emily Carter, adds, “The clarity of polygel allows for endless creative possibilities, making it a must-have for anyone who loves expressing themselves through nail art.”
Conclusion
Clear polygel nails provide a fantastic option for achieving stunning and durable manicures. With proper application and aftercare, you can enjoy beautiful, long-lasting nail designs that reflect your personal style. Whether you’re a seasoned nail artist or a beginner, clear polygel offers a versatile and rewarding nail enhancement experience.
FAQ
- How long do clear polygel nails last? They can last up to 3-4 weeks with proper care.
- Can I apply clear polygel to my natural nails? Yes, with proper preparation.
- Is clear polygel damaging to natural nails? Not if applied and removed correctly.
- What is the difference between clear polygel and acrylics? Polygel is lighter and more flexible than acrylics.
- Do I need a UV/LED lamp to cure clear polygel? Yes, a UV/LED lamp is necessary for curing.
- How do I remove clear polygel nails? They can be filed off or soaked in acetone.
- Where can I purchase clear polygel? Beauty supply stores and online retailers.
Other helpful resources on our website:
- Nail Art Tutorials for Beginners
- Choosing the Right Nail Products
- The Ultimate Guide to Nail Care
For any further assistance, please contact us at [email protected] or visit our office at Fifth Avenue, 34th Floor, New York, NY 10118, USA. We have a 24/7 customer service team available to help.
