Mastering the Art of Crayon Contouring
- AmazoniaSilva
- Tháng 1 5, 2025
- Zodiac signs
- 0 Comments
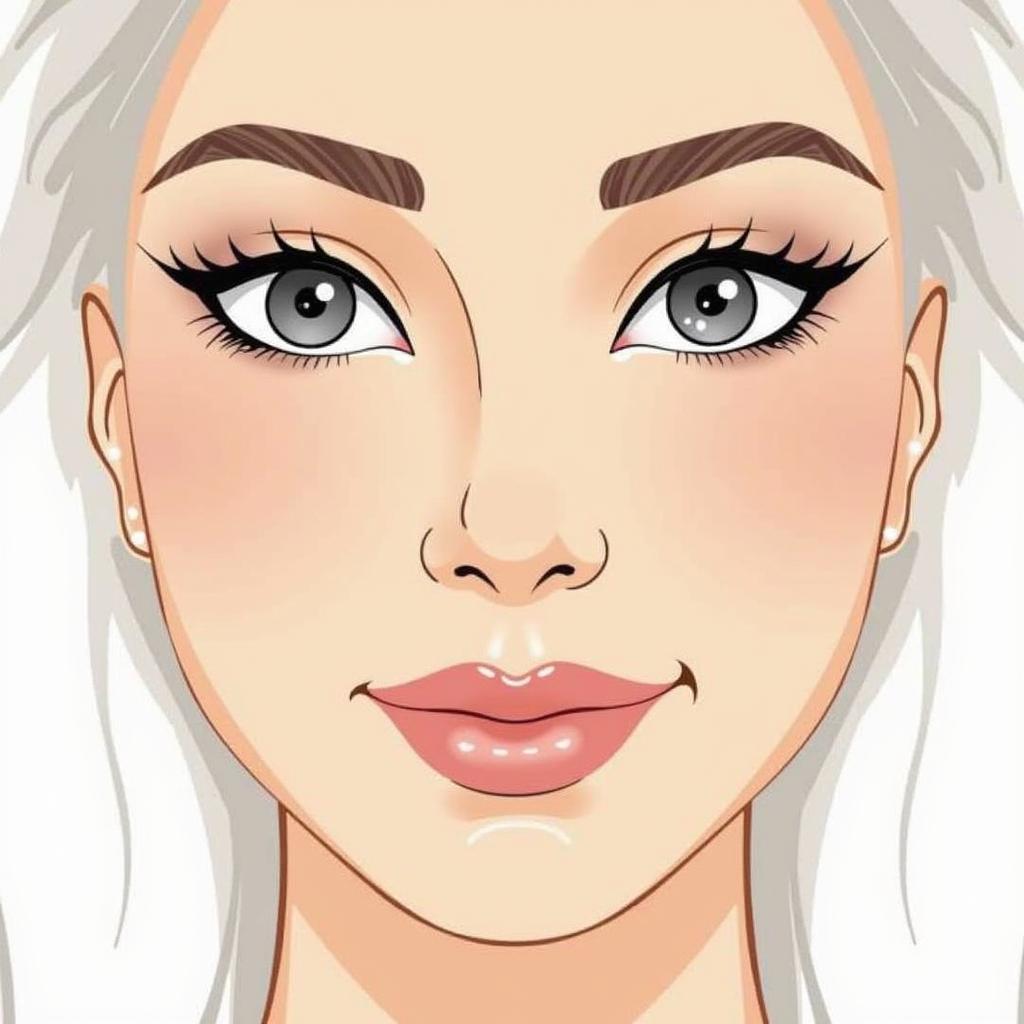
Crayon Contouring has taken the beauty world by storm, offering a playful and accessible approach to sculpting and defining facial features. This technique utilizes the creamy, blendable texture of crayon makeup to create natural-looking dimension and enhance your bone structure. Whether you’re a makeup novice or a seasoned pro, crayon contouring is a fun and effective way to elevate your makeup game.
What is Crayon Contouring?
Crayon contouring involves using white makeup stick specifically designed for contouring or adapting regular crayons (ensure they are non-toxic and cosmetic grade) to create shadows and highlights on the face. The creamy consistency of crayons allows for easy blending and buildable coverage, making it perfect for achieving a seamless, natural-looking contour. Unlike powder contour, crayon contouring offers a more hydrating and dewy finish, ideal for those with dry or mature skin.
Crayon Contouring Basics
Why Choose Crayon Contouring?
Crayon contouring offers a multitude of benefits, making it a popular choice among makeup enthusiasts:
- Easy Application and Blending: The creamy texture blends effortlessly into the skin, allowing for a natural and seamless finish.
- Buildable Coverage: You can easily build up the intensity of the contour to achieve your desired look, from subtle definition to dramatic sculpting.
- Hydrating and Dewy Finish: Crayon contour is less likely to emphasize dry patches or fine lines, making it suitable for all skin types, especially dry or mature skin.
- Affordability and Accessibility: Crayon makeup is often more affordable than other contouring products, making it a budget-friendly option.
- Travel-Friendly: Crayons are compact and easy to pack, making them ideal for on-the-go touch-ups.
How to Crayon Contour Like a Pro
Follow these simple steps to achieve a flawless crayon contour:
-
Prep Your Skin: Start with a clean, moisturized face. Apply a primer to create a smooth base for your makeup.
-
Choose Your Shades: Select a crayon shade 2-3 shades darker than your skin tone for contouring and a shade 2-3 shades lighter for highlighting.
-
Apply Contour: Apply the contour shade to the areas you want to define, such as the hollows of your cheeks, temples, sides of the nose, and jawline.
-
Apply Highlight: Apply the highlight shade to the areas you want to brighten, such as the center of your forehead, bridge of the nose, under your eyes, and chin.
-
Blend, Blend, Blend: Use a damp makeup sponge or a contour brush to blend the shades seamlessly into your skin. Start with light, circular motions and build up to a more intense blending if needed.
-
Set with Powder (Optional): If you have oily skin or want a longer-lasting contour, set the cream contour with a translucent powder.
Tips and Tricks for Perfect Crayon Contouring
- Start with Less: It’s always better to start with a small amount of product and build up the intensity as needed. This will prevent harsh lines and ensure a natural look.
- Use the Right Tools: A damp makeup sponge or a dense, angled contour brush will help you achieve a seamless blend.
- Consider Your Face Shape: Different face shapes require different contouring techniques. Research techniques that complement your specific face shape.
“Crayon contouring is a game-changer for achieving a natural, sculpted look. Its blendability and versatility make it a must-have in any makeup kit.” – Samantha Williams, Celebrity Makeup Artist
Common Crayon Contouring Mistakes to Avoid
- Using the Wrong Shades: Choosing shades that are too dark or too light can create an unnatural and muddy look.
- Over-Blending: While blending is crucial, over-blending can diffuse the contour and diminish its effect.
- Not Setting with Powder: If you have oily skin, setting your cream contour with powder is essential to prevent it from smudging or fading throughout the day.
“Remember, the key to successful crayon contouring is blending. Take your time and blend thoroughly for a flawless finish.” – Maria Garcia, Beauty Influencer
Conclusion
Crayon contouring is a versatile and easy-to-master technique that can enhance your natural features and create a sculpted, defined look. By following the steps and tips outlined above, you can achieve a professional-looking contour using this affordable and accessible makeup method. So, grab your crayons and start experimenting – you’ll be surprised at the stunning results you can achieve with crayon contouring!
FAQs
- Can I use regular crayons for contouring?
Only use non-toxic, cosmetic-grade crayons. - What if I have oily skin?
Set your crayon contour with translucent powder. - How do I choose the right shades?
Choose shades 2-3 shades darker/lighter than your skin tone. - What tools do I need?
A damp sponge or angled contour brush works best. - How do I prevent harsh lines?
Start with less product and blend thoroughly. - Is crayon contouring suitable for beginners?
Yes, its easy application makes it beginner-friendly. - Can I use crayon contouring for everyday makeup?
Absolutely! It can be as subtle or dramatic as you like.
Need help with choosing the right shade of white makeup stick? Contact us at [email protected] or visit our office at Fifth Avenue, 34th Floor, New York, NY 10118, USA. We have a 24/7 customer service team ready to assist you.
