Achieving a Flawless Finish: Your Guide to No Flake Gel
- AmazoniaSilva
- Tháng 1 26, 2025
- Zodiac signs
- 0 Comments
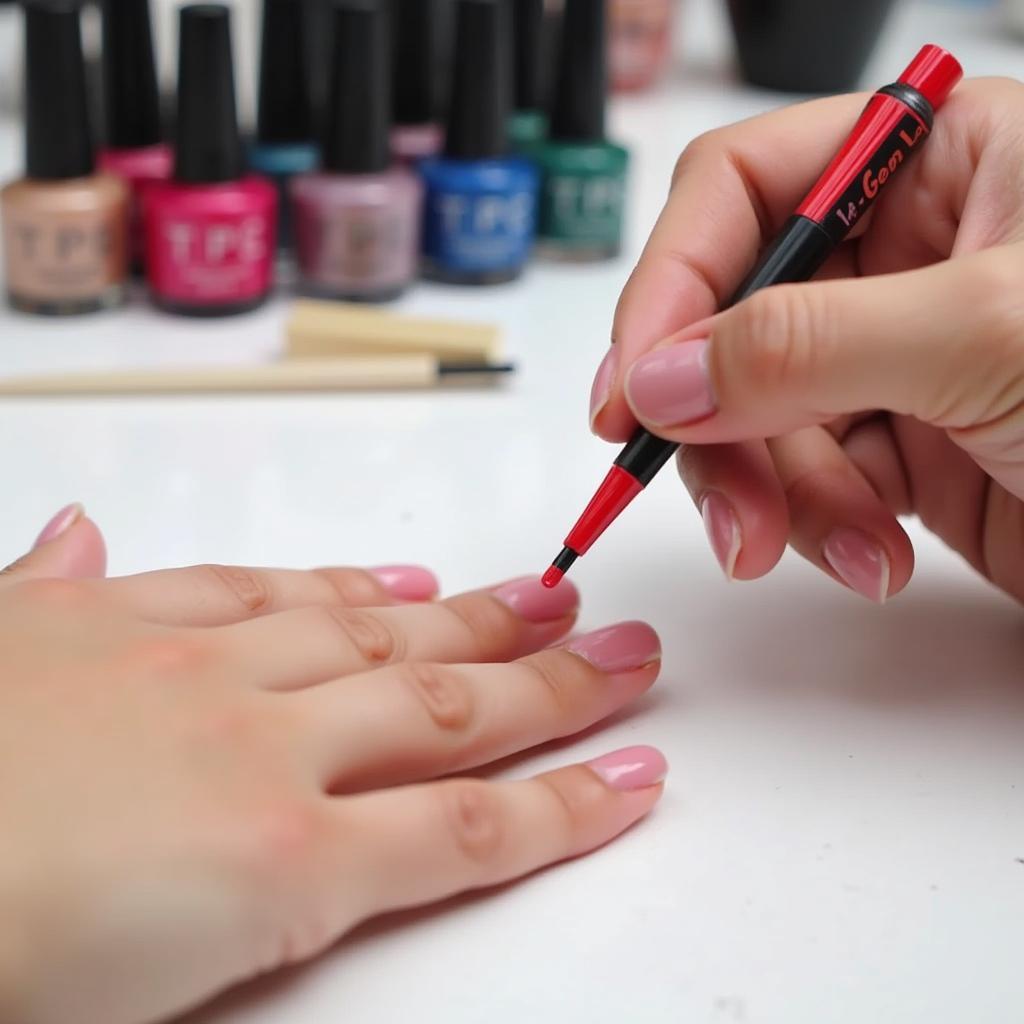
No Flake Gel is the holy grail for anyone seeking a long-lasting, pristine manicure. Whether you’re a seasoned nail art enthusiast or a beginner just starting out, understanding the nuances of no flake gel can elevate your nail game. This comprehensive guide explores everything you need to know, from application techniques to product recommendations, ensuring your gel manicure remains chip-free and vibrant for weeks. Applying No Flake Gel Polish
Understanding No Flake Gel: What Sets it Apart?
No flake gel differs from regular nail polish in its composition and curing process. While traditional polishes air dry, gel polishes require curing under a UV or LED lamp, creating a durable, high-gloss finish that resists chipping and peeling. This makes them perfect for busy individuals or those who struggle to maintain a perfect manicure.
Why Choose No Flake Gel?
The primary benefit of no flake gel is its longevity. Unlike regular polish, which can chip within days, a well-applied no flake gel manicure can last for two to three weeks without any noticeable wear and tear. This makes it a time-saving and cost-effective option. Furthermore, no flake gel offers a wide range of colors and finishes, allowing for endless creativity. hairspray no flakes
Application Tips for a Flawless No Flake Gel Manicure
Proper application is crucial for achieving a long-lasting, no flake gel manicure. Follow these steps to ensure your nails look their best:
- Prep Your Nails: Start by cleaning and shaping your nails. Gently push back your cuticles and buff the nail surface to create a smooth base for the gel.
- Apply a Base Coat: A thin layer of base coat is essential for protecting your natural nails and promoting adhesion. Cure under the lamp for the recommended time.
- Apply the Color Coat: Apply thin, even coats of your chosen no flake gel color, curing each layer under the lamp. Two to three coats are typically sufficient for optimal coverage.
- Apply a Top Coat: A top coat seals the color and adds shine. Cure under the lamp for the recommended time. gel nail polish for christmas
- Remove the Sticky Layer (if applicable): Some top coats leave a sticky residue after curing. Wipe it away with a lint-free wipe and isopropyl alcohol.
Troubleshooting Common No Flake Gel Issues
Even with careful application, some issues can arise with no flake gel. Here are solutions to common problems:
- Chipping: This can be caused by improper application, insufficient curing, or contact with harsh chemicals. Ensure you’re following the correct steps and using quality products.
- Peeling: Peeling can be caused by applying the gel to oily nails or not properly prepping the nail surface. Make sure your nails are clean and dry before application. waterproof hair gel
- Bubbles: Bubbles can form if the gel is applied too thickly or if the bottle is shaken before use. Apply thin coats and avoid shaking the gel polish.
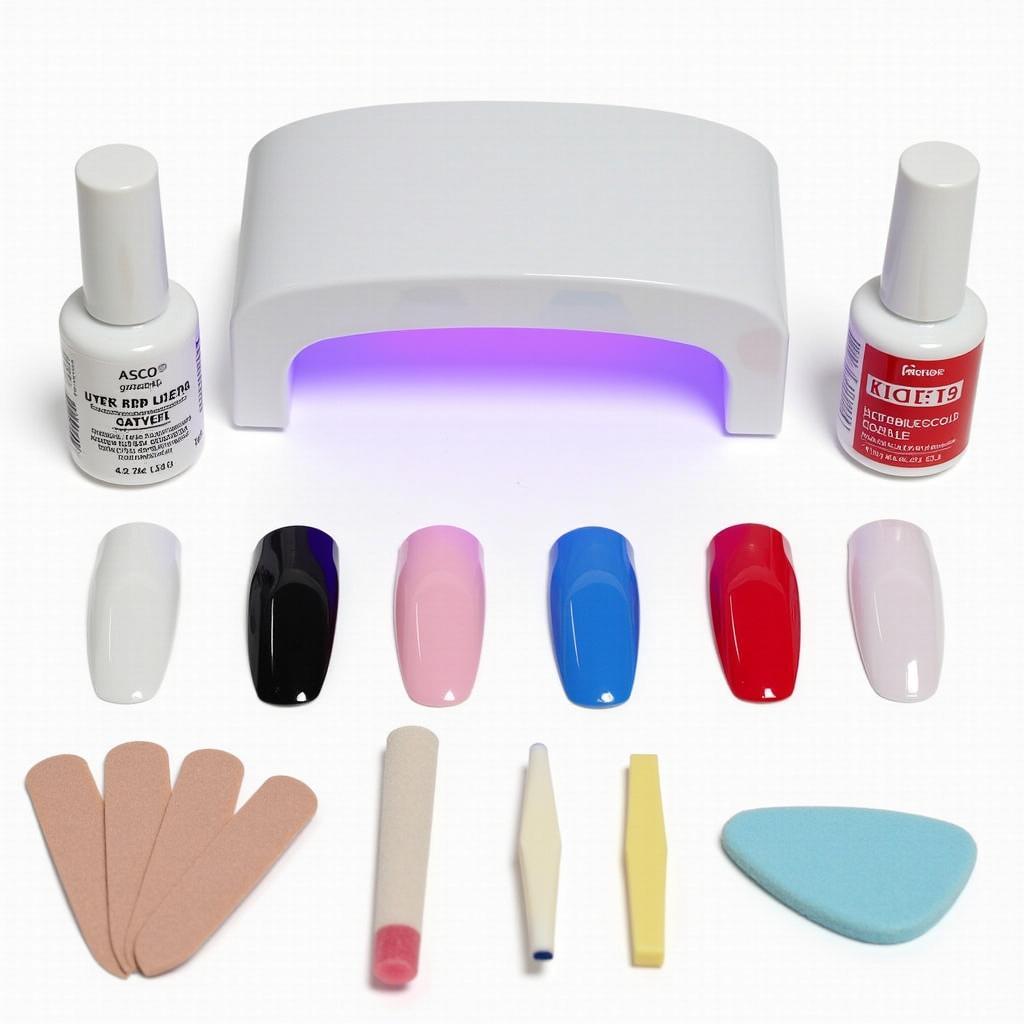 Essential No Flake Gel Kit
Choosing the Right No Flake Gel
With a plethora of no flake gel options available, selecting the right one can be overwhelming. Consider these factors when making your choice:
- Brand Reputation: Opt for reputable brands known for quality and long-lasting formulas.
- Color Selection: Choose colors that suit your style and preferences. gray hair gel
- Finish: Consider whether you prefer a glossy, matte, or shimmery finish.
“Investing in a high-quality no flake gel is essential for achieving a professional-looking manicure at home,” says celebrity nail artist, Sarah Miller. “It’s a game-changer for busy women who want a flawless look without frequent salon visits.”
Maintaining Your No Flake Gel Manicure
To prolong the life of your no flake gel manicure, avoid prolonged exposure to water and wear gloves when doing chores. Apply cuticle oil regularly to keep your nails hydrated and healthy.
“Regular cuticle oil application is key to maintaining healthy nails and preventing lifting or peeling,” adds Miller. “It’s a simple step that makes a big difference.” gold sparkle gel nails
Conclusion
No flake gel offers a durable and stylish solution for achieving a perfect manicure. By following these tips and choosing the right products, you can enjoy chip-free, vibrant nails for weeks. No flake gel empowers you to express your creativity and maintain a polished look effortlessly.
FAQ
- How long does no flake gel last? Typically two to three weeks.
- Can I remove no flake gel at home? Yes, using acetone and foil wraps.
- Is no flake gel damaging to nails? Not if applied and removed correctly.
- How often should I apply cuticle oil? Daily, or as needed.
- What is the difference between UV and LED lamps? LED lamps cure gel faster.
- Can I use regular nail polish over no flake gel? No, it won’t adhere properly.
- How do I prevent bubbles in my no flake gel manicure? Apply thin coats and avoid shaking the bottle.
If you need further assistance, please contact us at [email protected] or visit our office at Fifth Avenue, 34th Floor, New York, NY 10118, USA. We have a 24/7 customer service team.
