Achieving a Flawless Glow: Your Guide to Sunless Tanner Applicator
- AmazoniaSilva
- Tháng 12 25, 2024
- Zodiac signs
- 0 Comments
Sunless Tanner Applicators are essential tools for achieving a streak-free, natural-looking tan without harmful UV exposure. Choosing the right applicator and mastering the application technique can make all the difference between a flawless glow and a patchy disaster. This guide will dive deep into the world of sunless tanner applicators, helping you choose the perfect one for your needs and achieve that coveted sun-kissed look.
Types of Sunless Tanner Applicators: Finding Your Perfect Match
There are various types of sunless tanner applicators on the market, each designed for specific needs and preferences. Understanding the differences can help you choose the best tool for a flawless application.
-
Mitts: These are the most popular choice for applying sunless tanner.
Applying Sunless Tanner with a Mitt The soft, velvety material helps blend the tanner evenly, preventing streaks and patches. Mitts also protect your hands from staining. -
Gloves: Disposable latex or nitrile gloves offer a barrier between your hands and the tanner. However, they don’t offer the same blending capabilities as a mitt, so streaks are more likely.
-
Sponges: Makeup sponges can be used to apply sunless tanner to smaller areas like the face, hands, and feet. They allow for precise application and blending.
-
Brushes: Kabuki brushes or specialized tanning brushes can be used for applying sunless tanner, especially in hard-to-reach areas like the back.
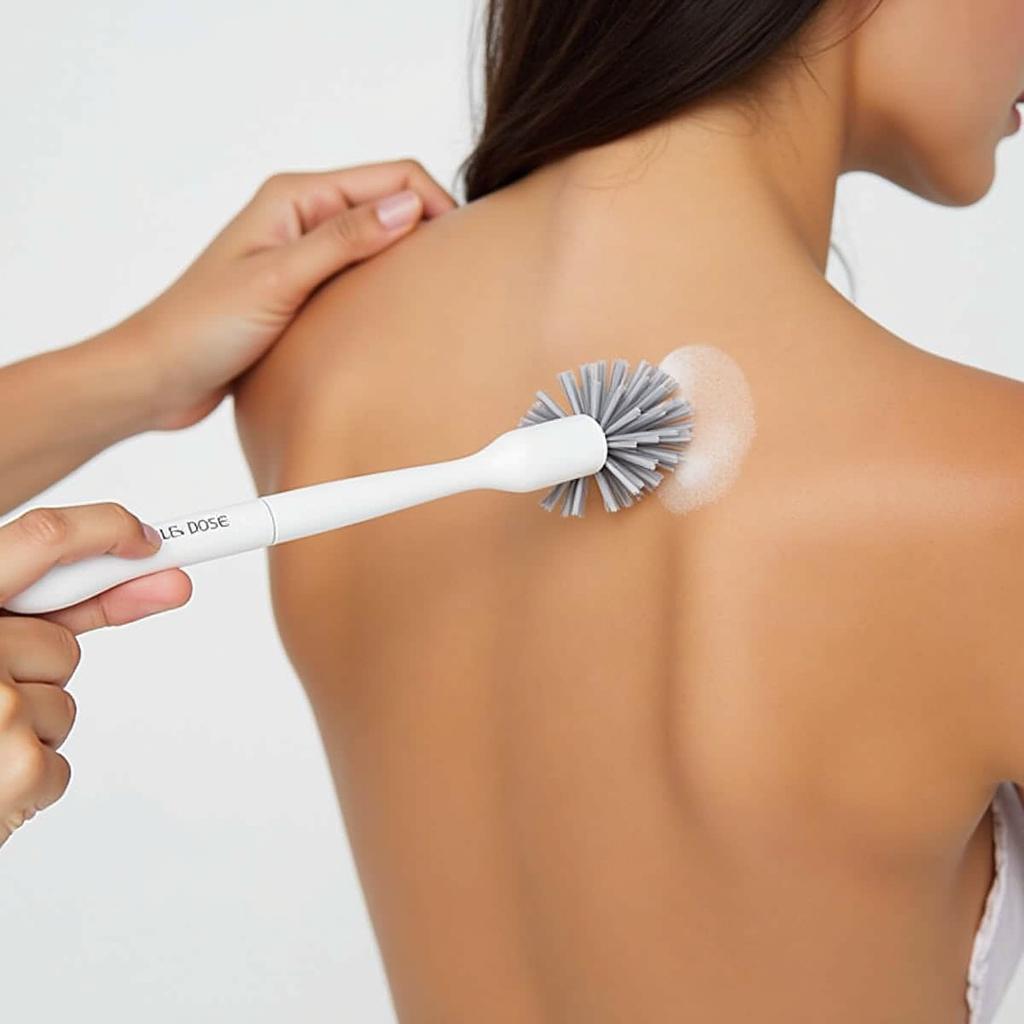 Applying Sunless Tanner to the Back with a Brush However, they require a bit more skill to avoid streaks.
 -
Rollers: Similar to paint rollers, these applicators can help achieve an even application, particularly on larger areas like the legs and torso.
Mastering the Application Technique: Tips for a Streak-Free Tan
Regardless of the applicator you choose, the application technique plays a crucial role in achieving a natural-looking tan.
-
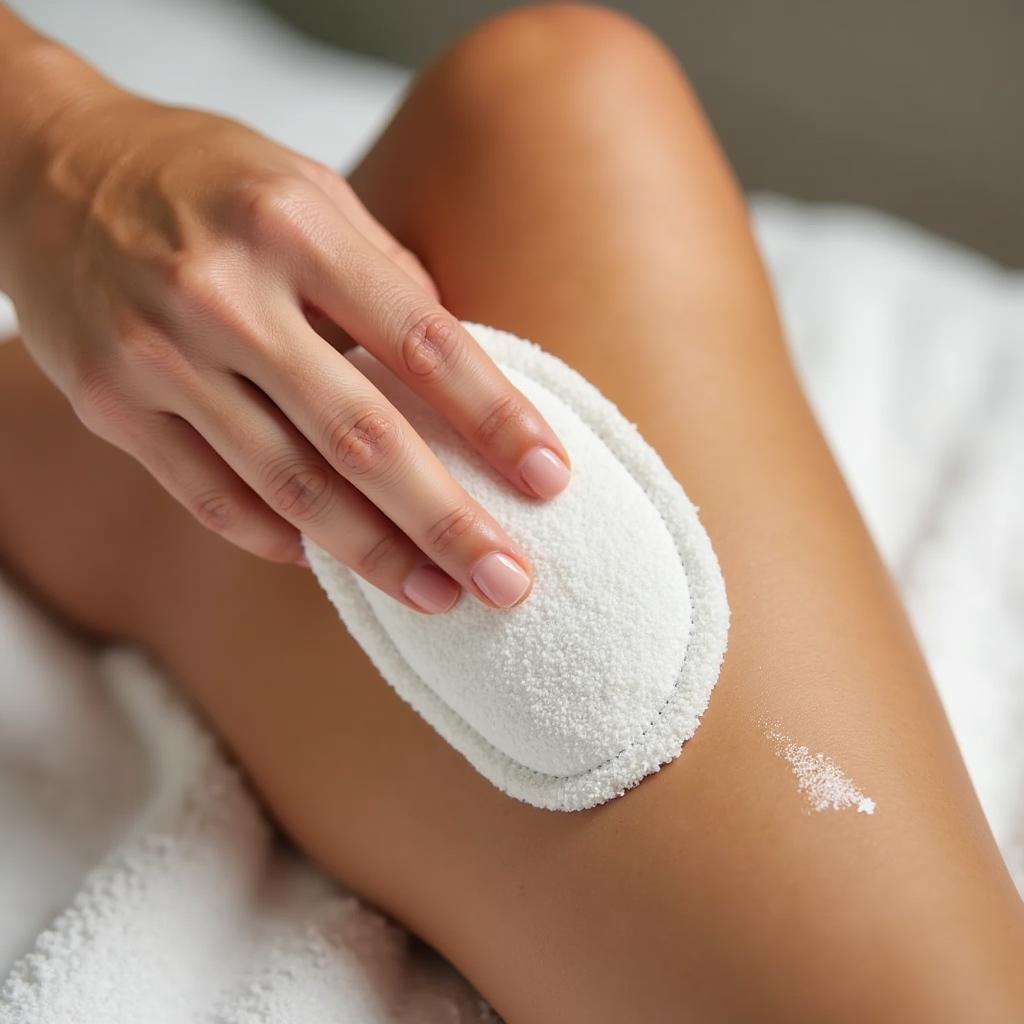
Exfoliate: Before applying sunless tanner, exfoliate your skin to remove dead skin cells. This creates a smooth surface for even application and prevents the tanner from clinging to dry patches.
-
Moisturize: Apply a light moisturizer to dry areas like elbows, knees, and ankles. This will prevent the tanner from accumulating and creating darker spots.
-
Apply in Sections: Divide your body into sections and apply the tanner to one section at a time. This ensures even coverage and prevents the tanner from drying before you can blend it properly.
-
Circular Motions: Use circular motions to blend the tanner evenly. Avoid rubbing back and forth, as this can create streaks.
-
Less is More: Start with a small amount of tanner and build up gradually. It’s easier to add more tanner than to remove excess.
-
Wait Before Dressing: Allow the tanner to dry completely before dressing. This prevents the tanner from transferring to your clothes.
How to Choose the Right Sunless Tanner Applicator for You
Choosing the right applicator depends on your individual preferences and needs. Consider the following factors:
-
Area of Application: Mitts are ideal for large areas, while sponges and brushes are better suited for smaller, more intricate areas.
-
Skill Level: Mitts are generally easier to use for beginners, while brushes and rollers require a bit more practice.
-
Budget: Disposable gloves are the most affordable option, while mitts and brushes are more of an investment.
Expert Insights
According to Jessica Alba, a renowned beauty expert, “A good sunless tanner applicator can make all the difference. I always recommend using a mitt for a flawless, streak-free application.” Dr. Sarah Jones, a dermatologist, adds, “Remember to exfoliate before applying sunless tanner and moisturize dry areas to prevent unevenness. This will ensure a smooth, natural-looking tan.”
Conclusion
Sunless tanner applicators are your key to achieving a beautiful, healthy-looking tan without the damaging effects of the sun. By choosing the right applicator and following the proper application techniques, you can achieve a flawless, sun-kissed glow. Investing in a good sunless tanner applicator can significantly enhance your tanning experience and ensure a beautiful, long-lasting result.
FAQ
- What is the best sunless tanner applicator for beginners? A mitt is generally the easiest to use for beginners.
- How do I clean a sunless tanner mitt? Hand wash your mitt with mild soap and water after each use.
- Can I use a regular makeup sponge to apply sunless tanner? Yes, but a dedicated tanning sponge is often more effective.
- How often should I replace my sunless tanner applicator? Replace your mitt or sponge when it starts to show signs of wear and tear.
- How do I prevent streaks when applying sunless tanner? Exfoliate before application and use circular motions to blend.
- What should I do if I get streaks? Try using a damp cloth to buff away the streaks.
- Can I use a sunless tanner applicator on my face? Yes, but use a smaller sponge or brush for more precise application.
See also: tan physics sunless tanner 8oz
For further assistance, please contact us at [email protected], or visit our office at Fifth Avenue, 34th Floor, New York, NY 10118, USA. Our customer service team is available 24/7.
